
Minikube can help you to install a light Kubernetes cluster which have only one node. Thus, no need to have many machines to get into Kubernetes universe.
This is not a “prod-ready” post ; This article let you have a Linux, Windows, or macOS with a light Kubernetes cluster to test it.
| Version | Date | Comments |
|---|---|---|
| 1 | 02/2021 | Post creation |
| 1.1 | 07/2022 | Post reformating, add missing informations (windows) |
| 1.2 | 08/2022 | Add informations about macOS M1 ; adding a nginx test deployment |
Moreover, I will not deal with the context of Kubernetes, this is not an article describing k8s…
There are few possibilities to deploy Kubernetes in your labs, with tools like “k3s” or “kind". The interest of Minikube is its simplicity : one command can let you generate a cluster ready to use.
Introduction and requirements for Minikube under Linux
To do it, I used to have a Debian 11 (amd64) VM with few needed tools for the system.
Tools used : Curl, Git, Docker, VirtualBox, linux-headers, Minikube, Kubectl.
$ sudo apt install curl git linux-headers-amd64 docker.io docker-compose --no-install-recommendsMinikube will generate a docker container with the necessary for k8s. Reminder : This is not a production tool !
Kubernetes cluster installation on Linux
Required packages come from Google directly. Today, when this post is written, there's no official repository for Minikube. You have to retrieve it manually.
Before start the Kubernetes cluster, we will retrieve Minikube sources :
$ curl -Lo minikube https://storage.googleapis.com/minikube/releases/latest/minikube-linux-amd64 && chmod +x minikube
$ sudo cp minikube /usr/local/bin/minikubeAs easy as two commands.
Minikube installation under macOS Monterey (M1)
Users of macOS have some choices. You can use Hyperkit, Docker or VirtualBox. I prefer using Docker, to stay with the same line in this post.
$ brew install --cask docker
$ brew install minikube
Requirements are now in, now you can start Minikube.
Install Minikube on Windows 11
It is possible to retrieve the last version of Minikube for Windows to this official link (https://storage.googleapis.com/minikube/releases/latest/minikube-installer.exe). You can also do it with PowerShell :
$ New-Item -Path 'c:\' -Name 'minikube' -ItemType Directory -Force
$ Invoke-WebRequest -OutFile 'c:\minikube\minikube.exe' -Uri 'https://github.com/kubernetes/minikube/releases/latest/download/minikube-windows-amd64.exe' -UseBasicParsing
Finally, to have the command minikube in your command line profile, open a new PowerShell window with administrator rights and type this command :
$oldPath = [Environment]::GetEnvironmentVariable('Path', [EnvironmentVariableTarget]::Machine)
if ($oldPath.Split(';') -inotcontains 'C:\minikube'){ `
  [Environment]::SetEnvironmentVariable('Path', $('{0};C:\minikube' -f $oldPath), [EnvironmentVariableTarget]::Machine) `
}
Under Windows, Minikube will select the default hypervisor on your system to generate its VM. Depending on your setup, it will be first with Hyper-V, and next Oracle VirtualBox or VMware Workstation/player. For this post, I'll be using Hyper-V (the VM is created automatically).
Using Minikube
Installation is ready after the download and moving the binary to correct folder. Let's create the cluster. Before creating a personalized cluster, I'll start with a default cluster. After, the personalized cluster will have 6 GB of RAM and 4 vCPU. Also, the extension metrics-server will be added, to have some metrics about the cluster in the dashboard.
- Create a cluster with default configuration (2 vCPU, 4 GB of RAM, virtual hard disk 20 Go) :
$ minikube start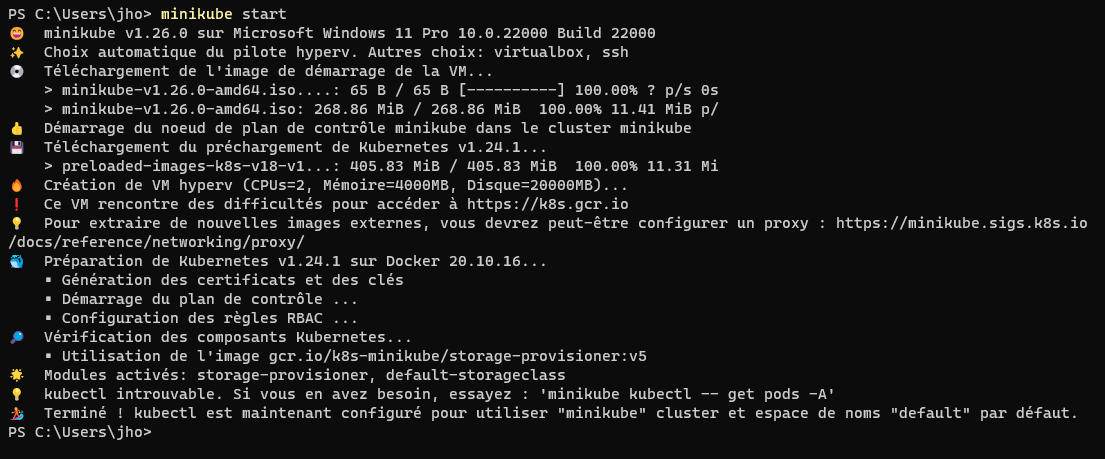
- Delete the cluster
$ minikube delete

# To delete every files and folders under Linux, use this command :
$ rm -rf ~/.{minikube,kube}- Create a cluster with specified resources and its add-on “metrics-server”
$ minikube start --memory 6144 --cpus 4
$ minikube addons enable metrics-server
At this moment, your Kubernetes cluster is now ready to use. You can now deploy your services on it. Next, you can open the minikube dashboard with this simple command :
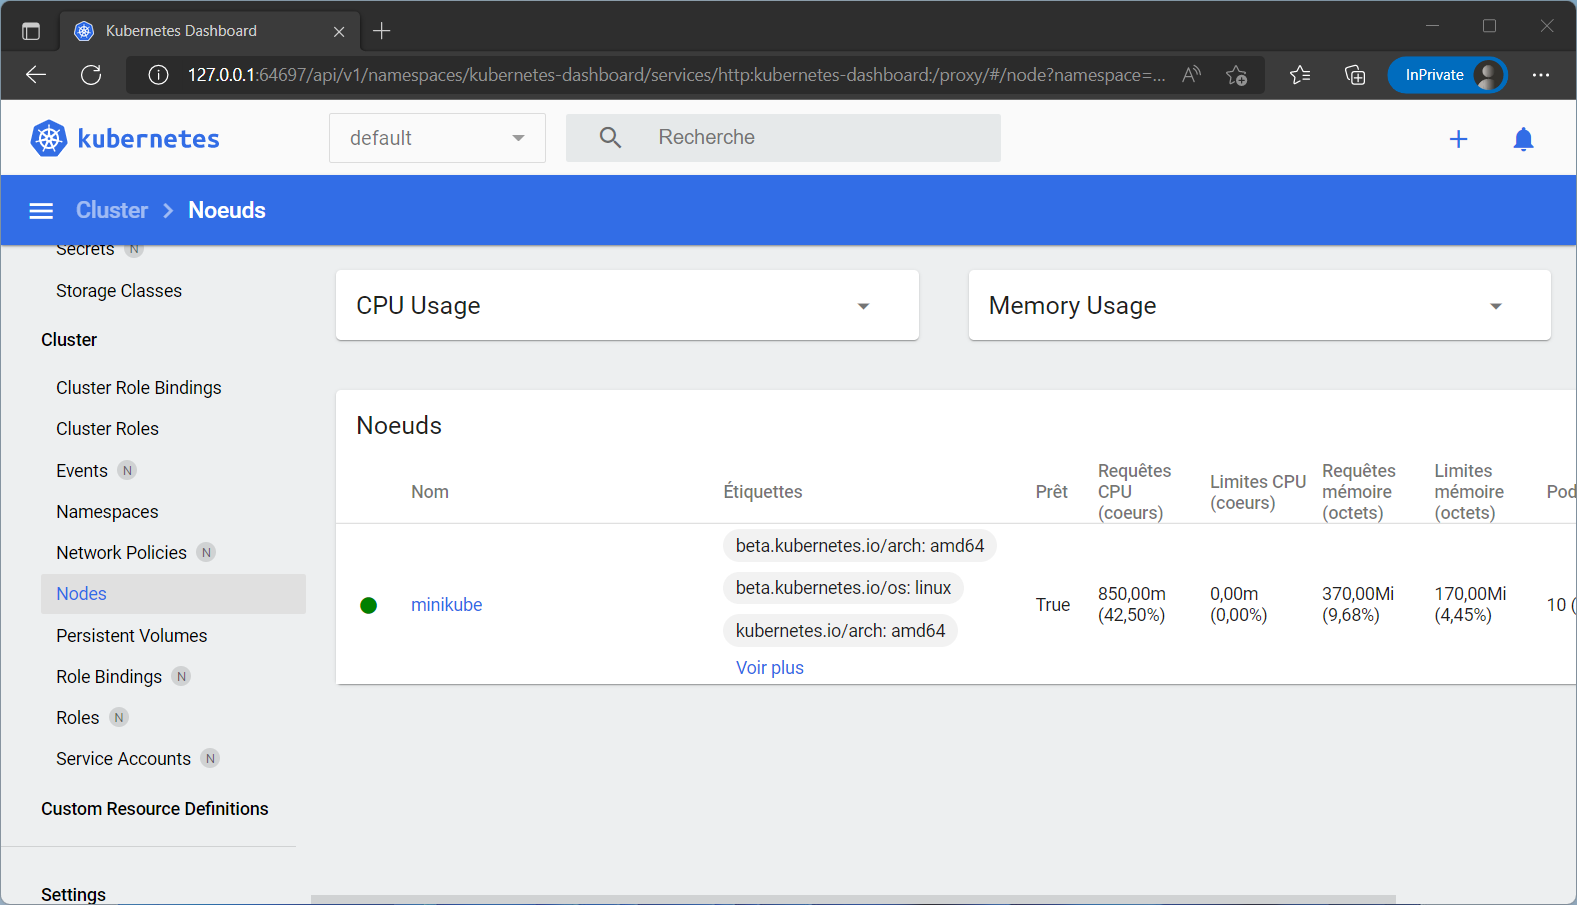
$ minikube dashboardYour web navigator will open automatically and launch the "Kubernetes dashboard", which is the same as a true Kubernetes cluster. In this page, you will see every deployment, your nodes, and pods, ingress, storage… Every thing about your cluster.
When you have finished your tests, you can stop the cluster with this command line :
$ minikube stopIf you want to delete your cluster after you stopped it, use this command line :
$ minikube deleteFor now, you have to deploy your containers and test the power of Kubernetes ! I do not go to the limits of Minikube, there's no benchmark nor comparisons with other solutions and no example about how to deploy containers.
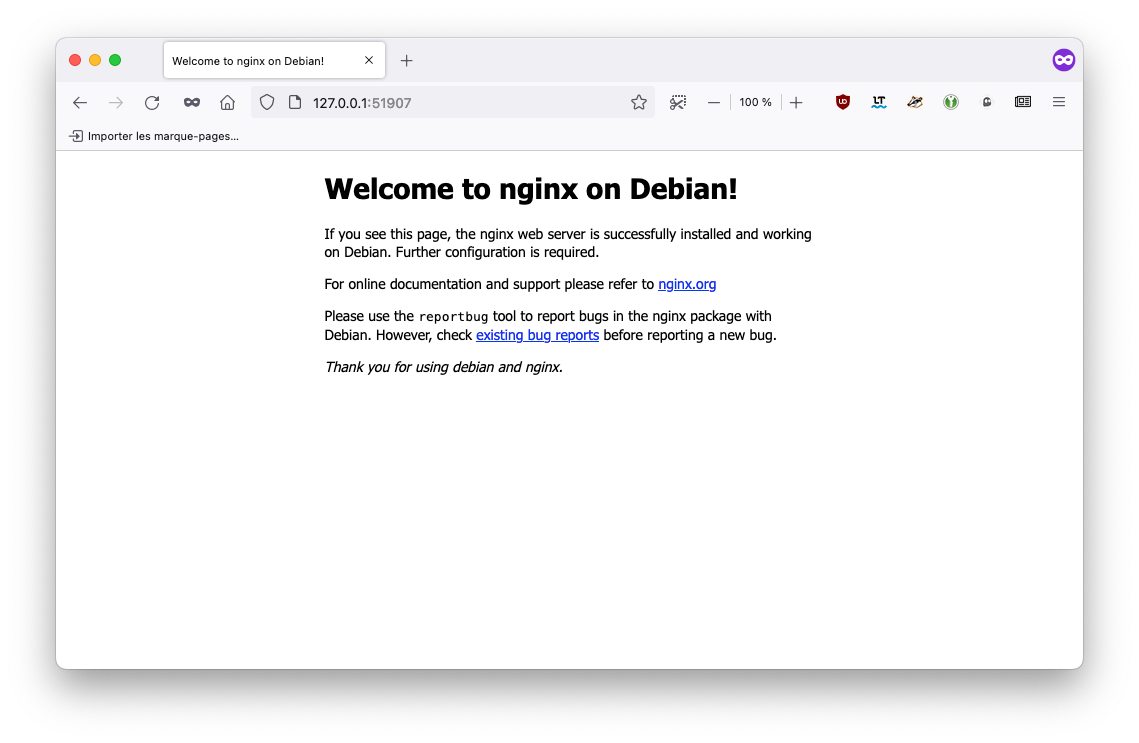
Official documentation share how to deploy a test container (a simple hello world), but I prefer to start a Nginx container like this :
$ minikube kubectl -- create deployment nginx --image=k8s.gcr.io/nginx
$ minikube kubectl -- expose deployment nginx --type=NodePort --port=80
$ minikube service nginx
The first line is the deployment name about our service (nginx). The second line expose the port of the nginx service (80). The last line will open a web browser and access to the running service.
The dashboard will show some information about this new deployment…
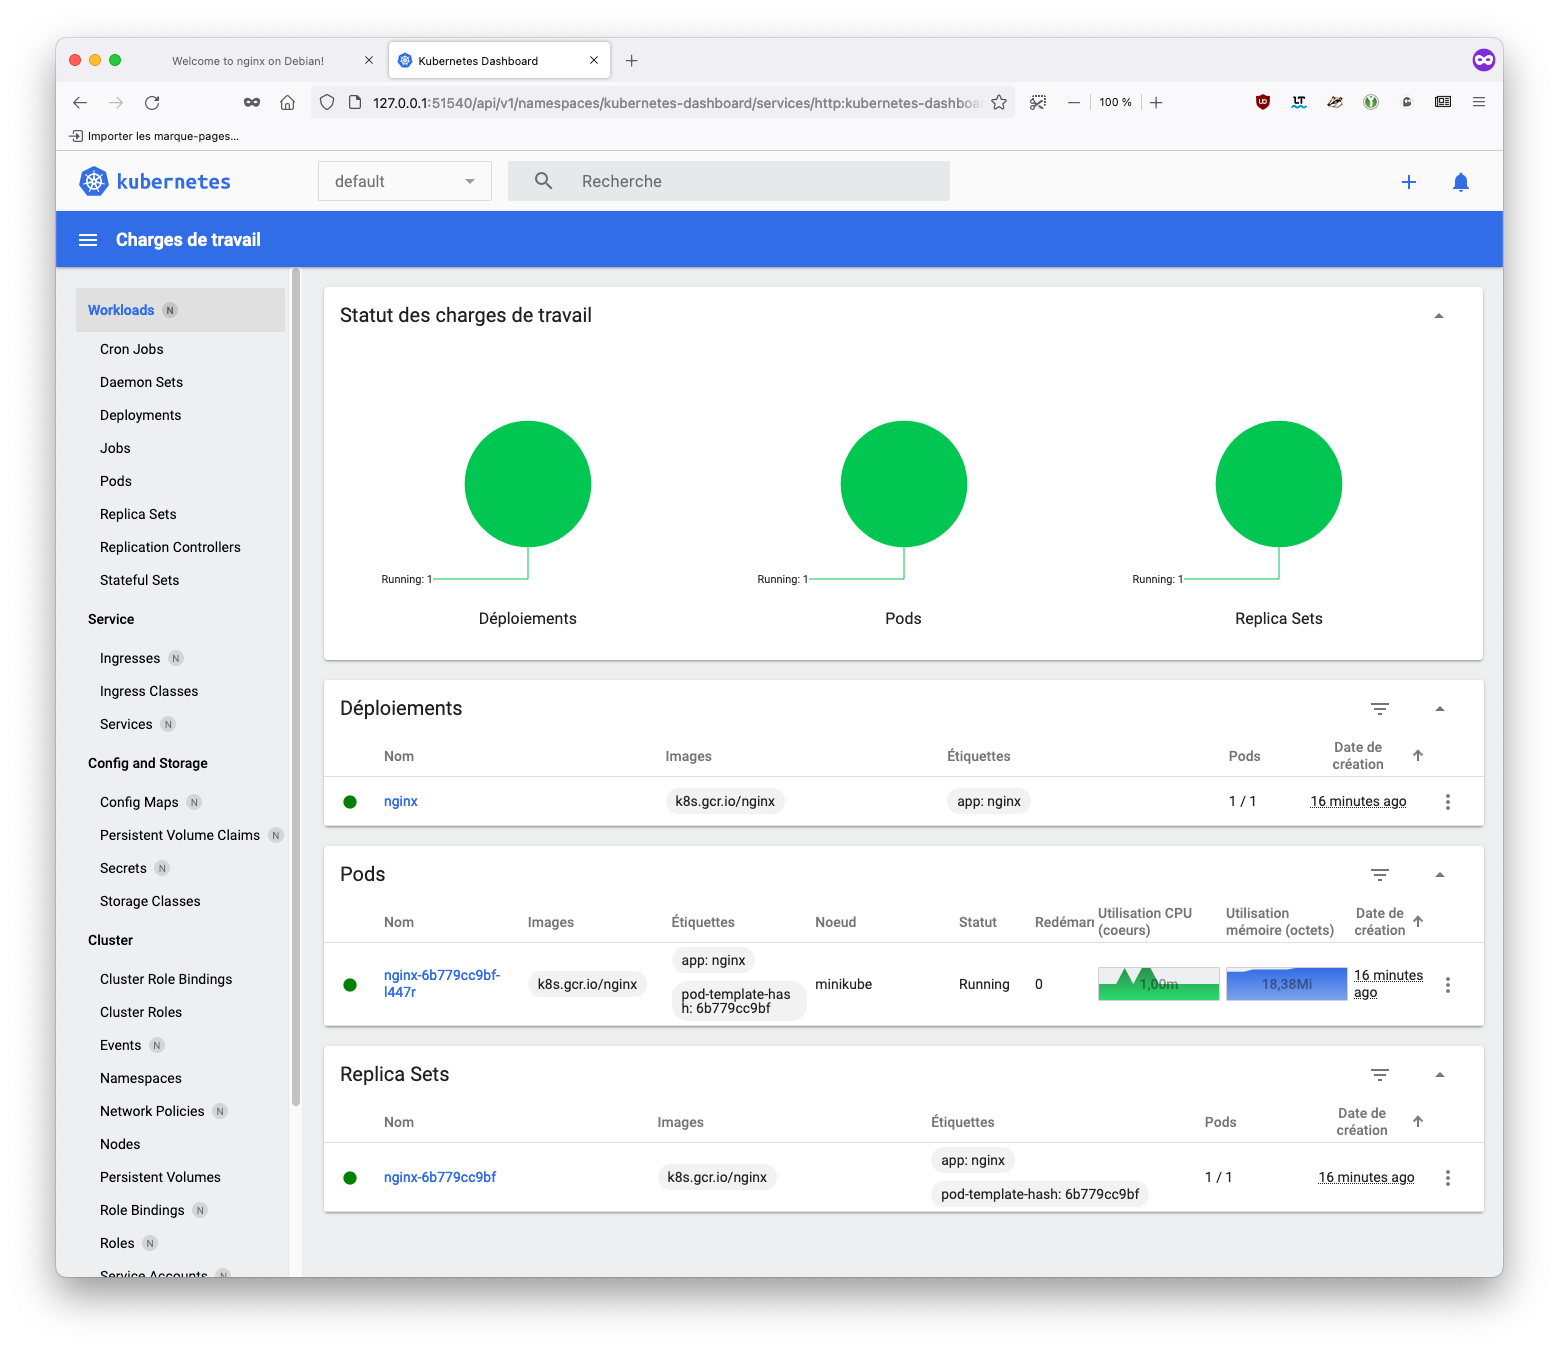
Tests can now begin. To wipe minikube and start from the beginning, type the command minikube delete.


